By: Ted Villegas, TedV Studios, Guest Blogger
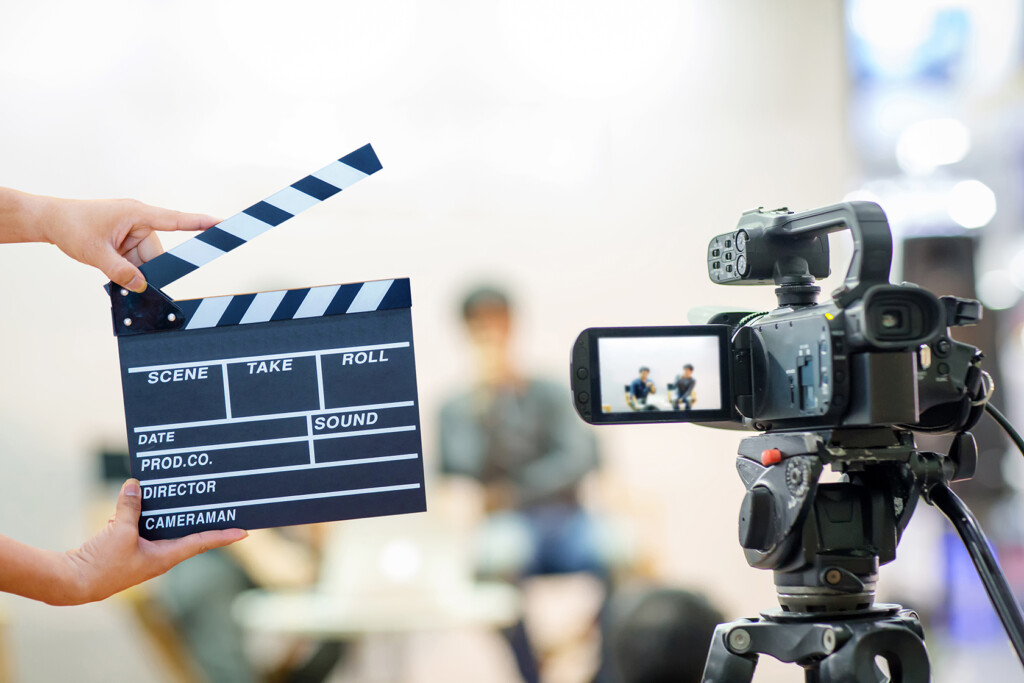
“My iPhone* shoots pretty darn good HD video … there really is no need to hire a professional videographer, right?”
Well for starters regarding the above statement … I’m going to have to agree and disagree! Let me take a brief moment to help explain why.
Video Camera Equipment
First, let’s start by talking about the video camera being utilized for one’s filming needs. Any video camera will work. Really! Whether it be an iPhone*, Samsung* or any stand-alone video camera as long as it provides you with the desired end result! The keywords here are “desired end result”. I remember about 20+ years ago a video that was shot on a consumer VHS camera. The content was a bit grainy, but after watching the first few minutes of this video, that grain somehow miraculously disappeared. I was so totally drawn into the content of the video and the sheer professionalism of the camera moves, angles, lighting, and audio.
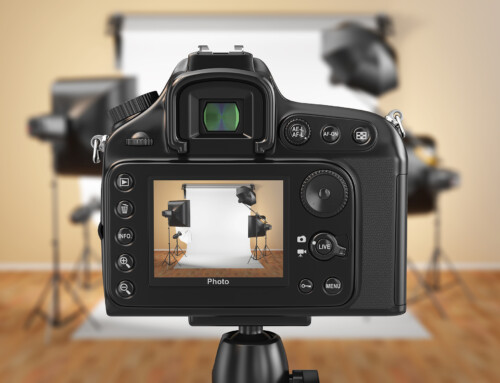
Just like in still photography a video camera is merely a tool of the trade. I liken it to an auto mechanic who uses multiple tools such as pliers or socket wrenches depending on the part he is working on. And, just like an auto mechanic who always uses the proper tools to get the job done right, a videographer also uses the proper camera equipment.
To illustrate this, several movies come to my mind, such as “The Blair Witch Project”, “Open Water” and “Unsane”. All of these movies made it to the big screen. The common denominator is that all of these movies were shot utilizing consumer video cameras. These are relatively dinky cameras in comparison to the typical 35mm and 70mm cameras that Hollywood film studios use today. BTW, “Unsane” was shot entirely on an iPhone 7!
Video Production the Right Way
Having a great video camera is just one part of the equation, that’s for sure. You still must surround yourself with a video crew that is knowledgeable about your marketplace and who has a team of professionals that are not only experts in shooting video but are also experienced in lighting, audio, and editing techniques.
Here are several pointers that will help you and your video crew create those desired end results. Most of these pointers are technical, but the more you know about videography the better you will be able to evaluate the videographer’s knowledge base.
Develop a Storyboard:
I highly recommend by starting off with a storyboard. This will give you a road map of what’s supposed to be filmed and what approach you will take. A storyboard can be as simple as a collection of thumbnails or a highly detailed diagram of the production layout. This helps guide the videographer so that your video crew will save time and save you money in the long run. The more prepared you are in the pre-production stage, the less time you waste on set. You may also need to hire a scriptwriter to help create a dynamic and compelling message. Scriptwriting is different from normal copywriting. The audio needs to sound normal and not scripted. Otherwise, your video will look canned and not have that natural feeling.
Music Selection:
Another consideration in creating an awesome video is utilizing music from a music library where you can select a particular style of music that suits the overall theme of your video. The music can be used as an intro or even as a background track. This helps the video flow avoiding the deafening silence of showing just visuals on screen. Please keep in mind that you must budget for the licensing fee to use the music in your video unless you decide to create your own original soundtrack.
Select the Right Number of Cameras:
You may think that all you need is one camera and therefore one camera angle. That’s fine, but you will most likely want to have several camera angles, especially if your video is a talking head or some sort of interview scene. It will save time and cost you less money in the editing stage, if you use several video cameras set up at different angles. Otherwise, the speaker will need to go through the presentation at one angle; then reset the camera at another angle and have the speaker repeat the presentation. This can made it more difficult to cut the final video. The use of multiple cameras will allow more editing options. A filmed live event whether it be a concert, a play, or a keynote speaker at a conference, using multiple cameras will definitely give more complete coverage. Instead of just focusing on the speaker, showing the audience’s reaction will keep your video interesting.
Avoid Shaky Footage Syndrome:
Depending on the content of the video and the desired effect you should use the proper fluid head video tripods or Steadycam*-like devices for handheld footage. This ensures smooth camera movements. Of course. like in “The Blair Witch Project”, the shaky video footage was their desired effect and it helped tremendously in adding a sense of believable realism to their film. Whenever I see shaky camera footage where it doesn’t belong I always know that this was simply someone who did not use the proper equipment.
Continuity is Key:
When filming you must also understand the “Imaginary Line of Action” or what’s known as the 180-degree rule. Take for example, if you film a person walking across the street going from left to right. Assume you had a second camera set up 180 degrees from the first camera, that is, directly opposite of your first camera. Now let’s consider if you edited footage taken from both cameras showing the person midway of crossing the street you would see the person walking left to right. If your edit then shows the person suddenly changing directions from right to left, you would confuse the viewer as to what was taking place in the scene. So, continuity of action is key when editing.
Lighting Angles:
Lighting angles and color balance of your scenes will help provide the feeling or mood within the time of day that you are trying to achieve. I’m, of course, referring mostly to an outdoor setting where you may want short or long shadows and prefer warm, neutral or cool color temperatures. For indoor shooting, your videographer will need to figure out what interior lighting is available so that people and objects in the scene have a more natural lighting quality. Specifically, you want natural-looking skin tones for people.
Audio Quality and Equipment:
Audio quality, in my opinion, is probably second in importance to editing. It is even more important than the sharpness of the video image. A filmed dialog conversation with just an on-camera microphone versus a boom or shotgun microphone will sound very distant and noisy. The clarity of speech will be also be diminished. I recommend using a boom or shotgun microphone so that you put your audience feels they are right in the middle of the conversation.
Editing is the Most Important Aspect:
The single most important aspect of video production is “editing”. This is where the magic happens. Editing is equally important if not more important than shooting the raw footage. One of my biggest pet peeves that I see is watching a person speaking on a topic and then a “jump cut” appears. A “jump cut” is where there is a mismatch in action because of how the clip was edited (see Continuity is Key earlier in this article). Let’s say someone is filming a “DIY How-to Video” and the talent muffed up a line. Let’s say the video editor deleted that sentence out so that it would sound perfect. Well, it does sound perfect but the head of that person speaking will now visually appear to have a sudden twitch because the editing was spliced between the talent looking slightly left to now looking slightly right. This isn’t normal behavior for us humans unless you are an alien of some sort. LOL. We’ve all heard the expression “Garbage in equals garbage out”. Well, in general, that is quite the truth. Creative editing techniques can help save some less than desirable video footage from looking like total garbage!
The Moral of the Story
To sum up … any video camera utilized is going to be just fine as long as you know that a particular piece of gear will deliver the desired end result. You will still need a team of professionals to support the video camera operator…. lighting, sound, editing, etc. Don’t skimp on getting an awesome editor as well because honestly, that’s kinda like where all the magic takes place!
 Ted Villegas is a graduate of the prestigious photographic school, Brooks Institute of Photography in Santa Barbara, CA, where he earned a Bachelor of Arts degree majoring in Illustration & Advertising Photography. He started his photography career working for Robinson’s Department Stores in downtown Los Angeles. His photography work was also featured in the LA Times as well as on billboards. After many years of catalog work, he became involved in photographing more high-tech products from clients like Western Digital, Hitachi, Q Logic, and Lantronix. Ted also is an experienced videographer and does both shooting and editing. Ted can be reached at TedVStudios; Phone: 714-403-3603; Email: tedvstudios@outlook.com
Did you enjoy reading this blog article? Please share your thoughts in the comments section below! And if you liked this article, please share it on your social media sites and with your colleagues. It’s easy. Just click the share buttons at the top of this blog article.
*Note: All trademarks are the property of their respective owners.

